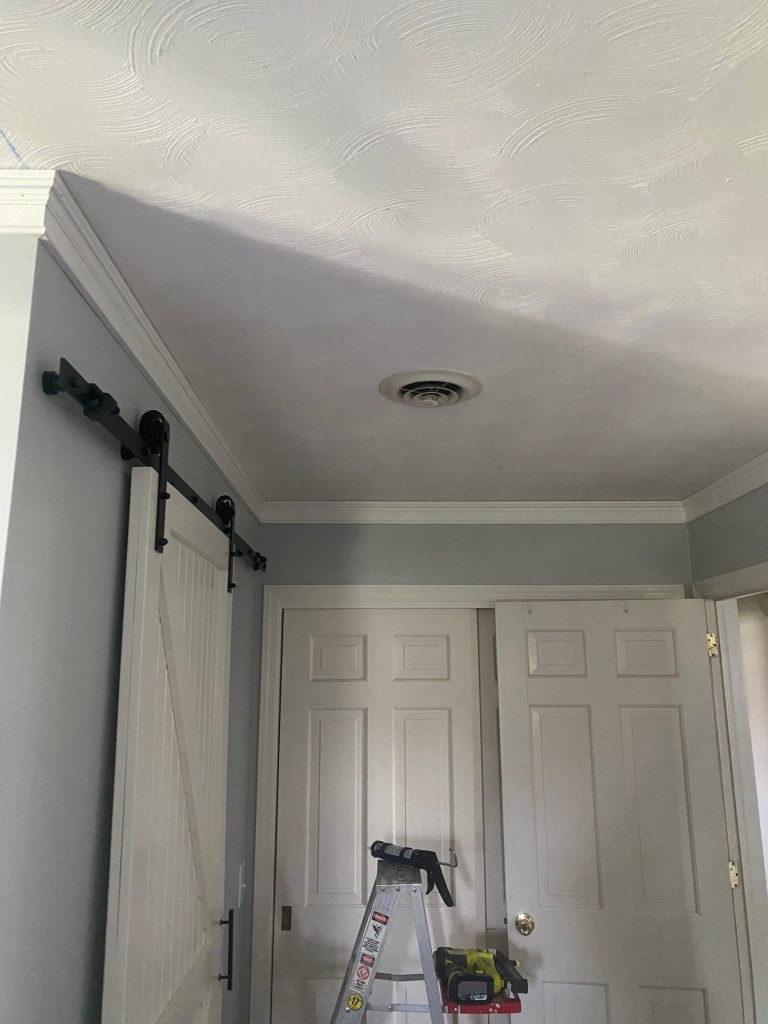
I was asked by a friend of mines mom to install crown molding in her bedroom! She had an old crown molding up and the room was in need of an update! Here is the old crown molding and the before of the room!

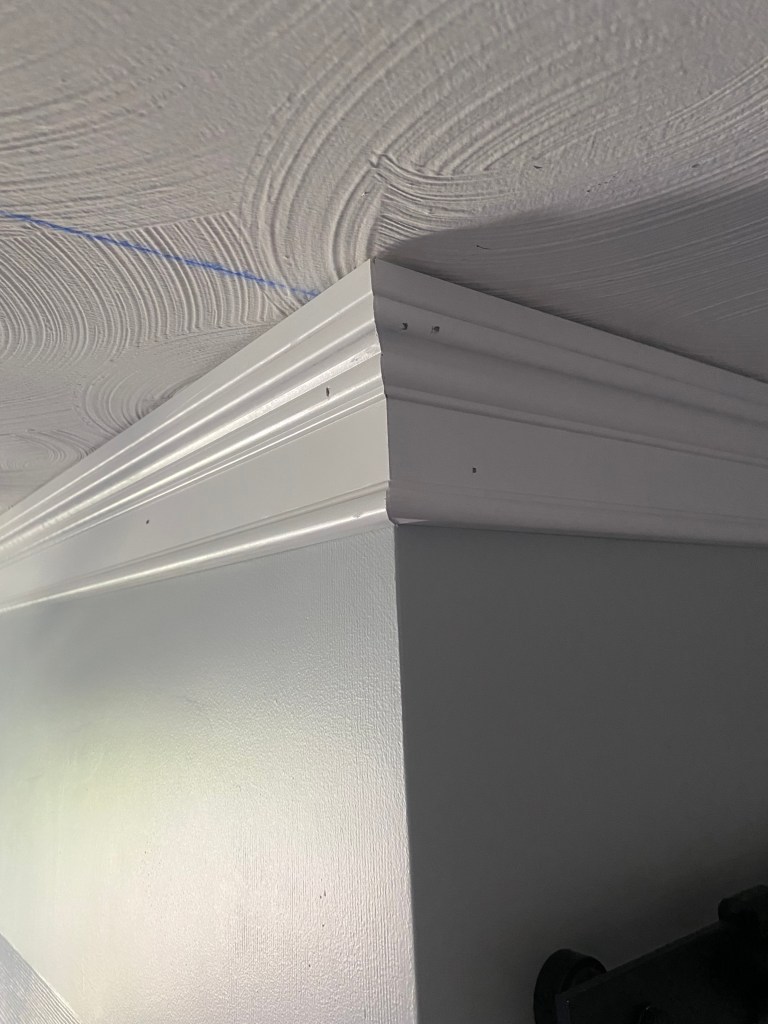
This was super simple to remove. I just used my pry bar to pull the crown molding from the wall and ceiling and gently removed the old trim along with the nails. Once the old crown molding was down I was ready to get started on installing the new molding. She picked out a beautiful ceiling molding. This is a non traditional crown molding, but actually way easier to install so I was happy! Here is a profile shot of the molding for better reference!
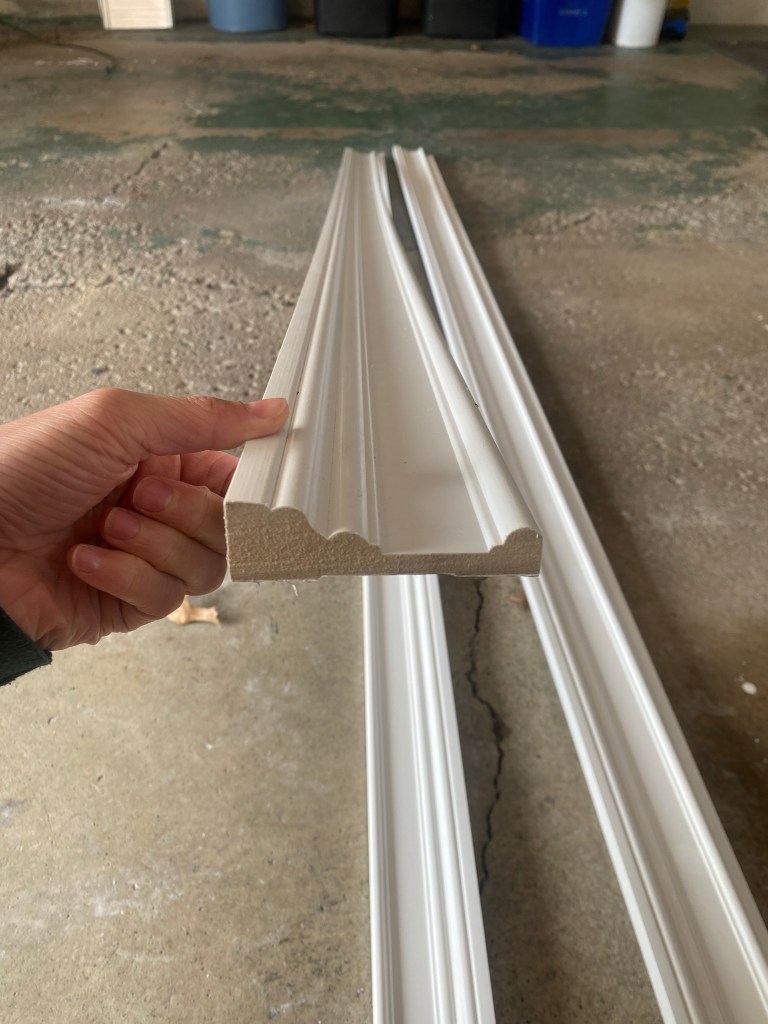
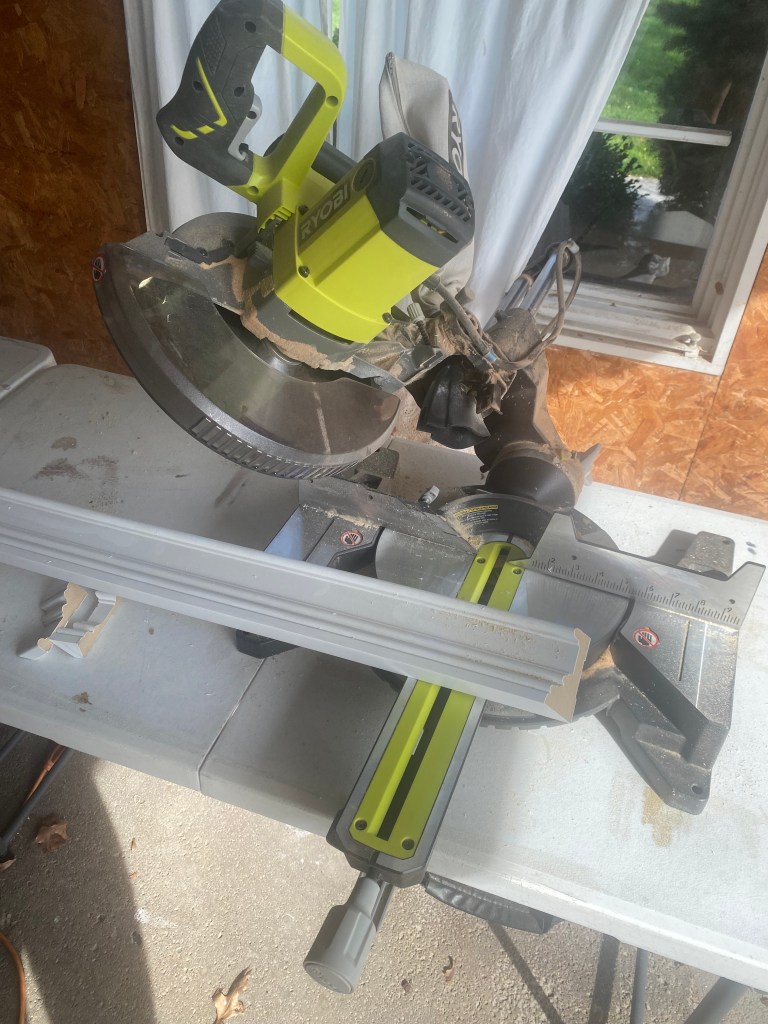
This molding was nice because it was pre primed, I would highly recommend. Sorry I don’t have a link as I was not the one who purchased it. She said she bought this specific ceiling molding in the ceiling molding section at Home Depot! SO, to start… I began with the corner of the longest wall. The bulk of this project is measuring and cutting! I set my miter saw to a 45 degree angle like this….
The biggest confusion to set straight prior to making your first cut is understanding when to make an (what I call) inner or outer cut, which I will explain.
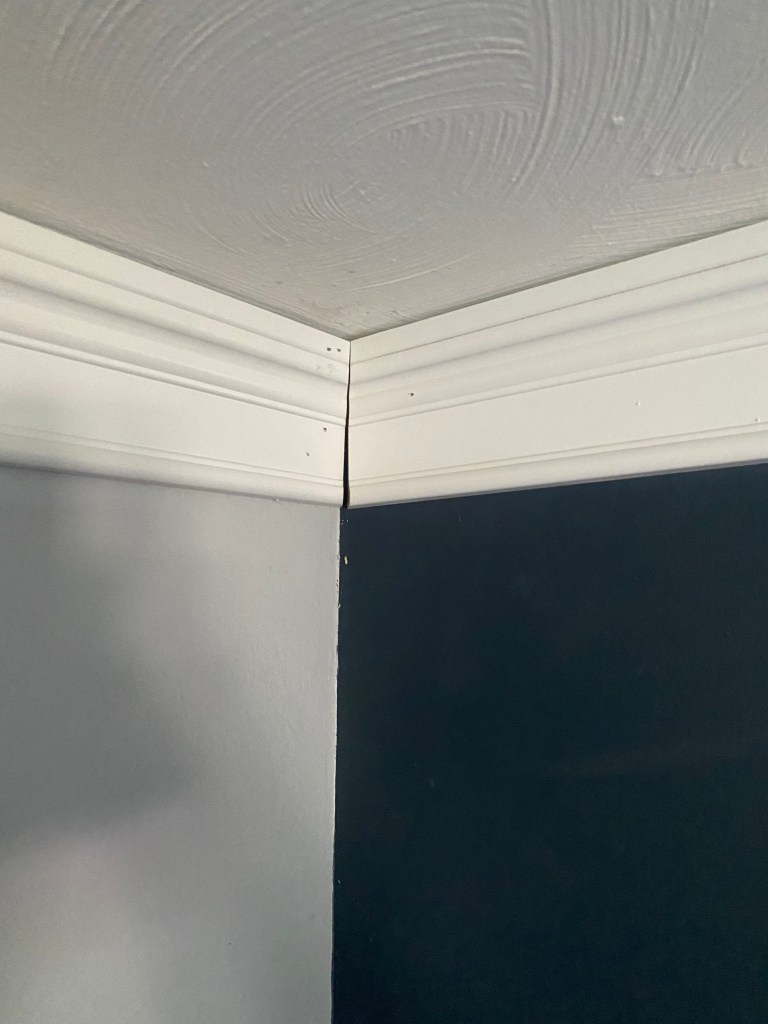
I cut the first board on the right side with an inner 45 degree cut and on the left with an inner 45 degree cut as well. The left side of the board is cut at an angle because it will adjoin with another board cut at an outer angle. I always cut adjoining boards at an angle to help make the transition/gap appear more seamless compared to a straight cut. To secure your trim to the wall, I used my brad nail gun and 2in brad nails to secure the trim into the wall. I nailed about every 16in aiming for the studs. Then, you are ready to measure for your next piece! Trim your board to size, and again make your angled 45 degree cuts. For the side that is adjoining to the other trim piece you will cut that side to an outer 45 degree cut to fit right in place with the inner angled cut and slide in tight! I used wood glue on the ends of the boards to make that seal even more tight. Like below…

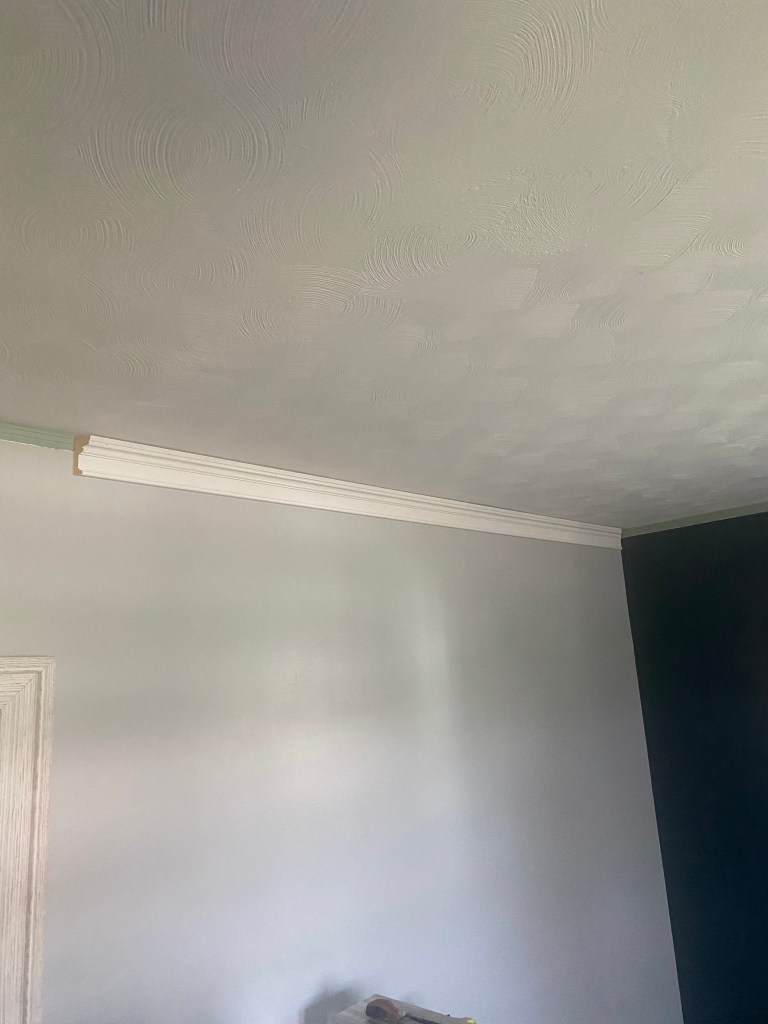
Here is the continuation of the room I was working in. You can see in the picture right above a good example of an outer 45 degree cut. You are simply just cutting your boards in the opposite direction as the inner 45 degree cut. It is always safer to cut bigger and have board to be able to trim rather than cut too much off with your miter saw, because then you can’t go back and that is a big waste of expensive molding! It is so worth it to re-measure a million times and make a million tiny cuts on the same board to get the perfect fit!
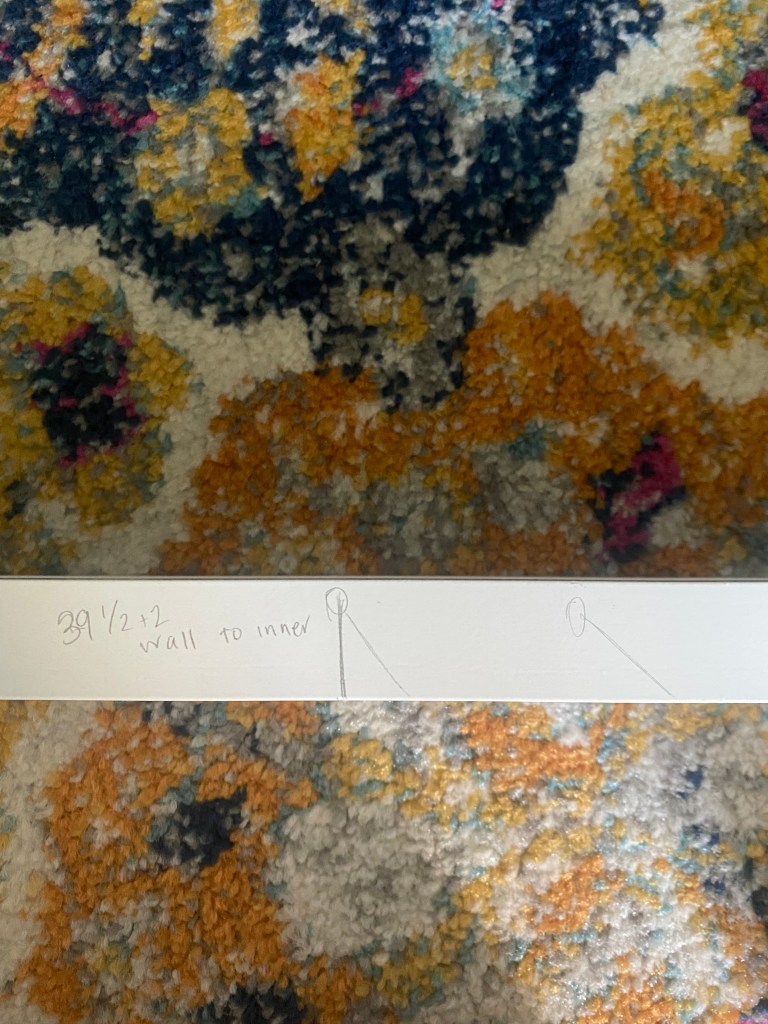
Here are my really fancy notes to myself when measuring
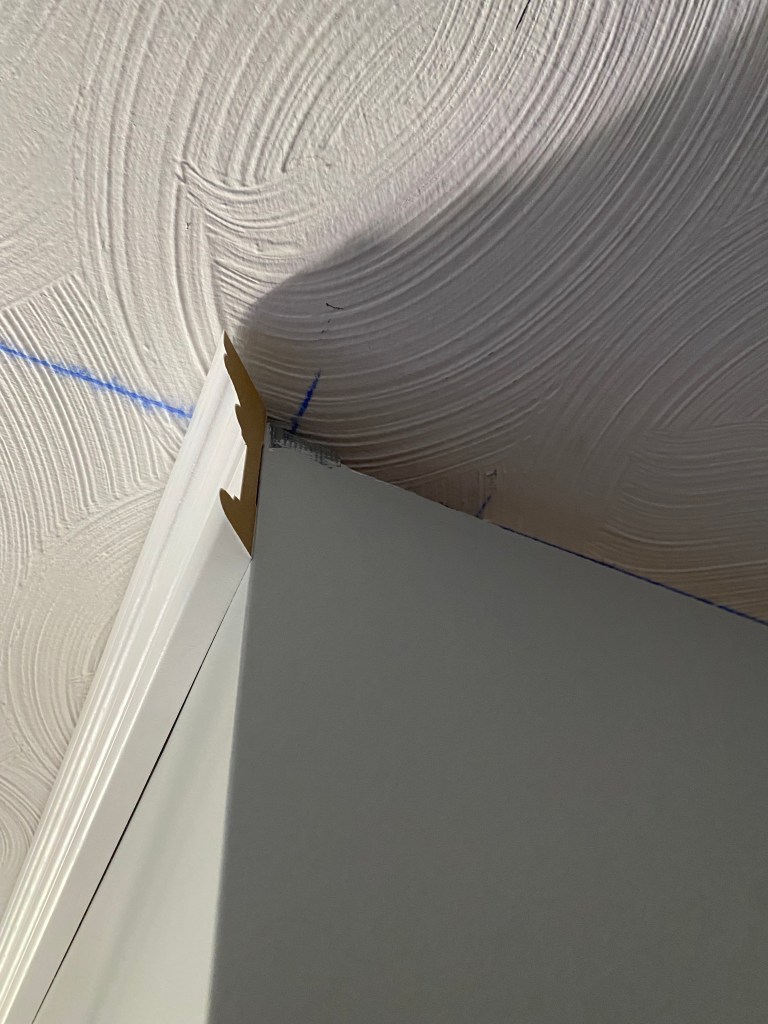
Here is a closer look above at an inner corner. I will be fully transparent this is not a perfect cut. It’s hard especially in homes that aren’t brand new to get 2 boards at the exact angle of the house to match up perfectly. New builds with perfect 90 degree walls, sure, are a lot easier. But weather on the home and years of just small shifts in the house make this way more difficult. Thankfully caulk comes in handy for this and you will never even be able to tell after I am done! Do the best that you can!
After you are done putting up your boards you are now ready to make it pretty. By this I mean… caulk and paint! Sure you are traditionally supposed to use wood filler to fill the nail holes as well, but I have found a small bit of caulk in the nail holes works just as well so this is what I did! First I taped around the molding on the top and bottom of the trim like below…

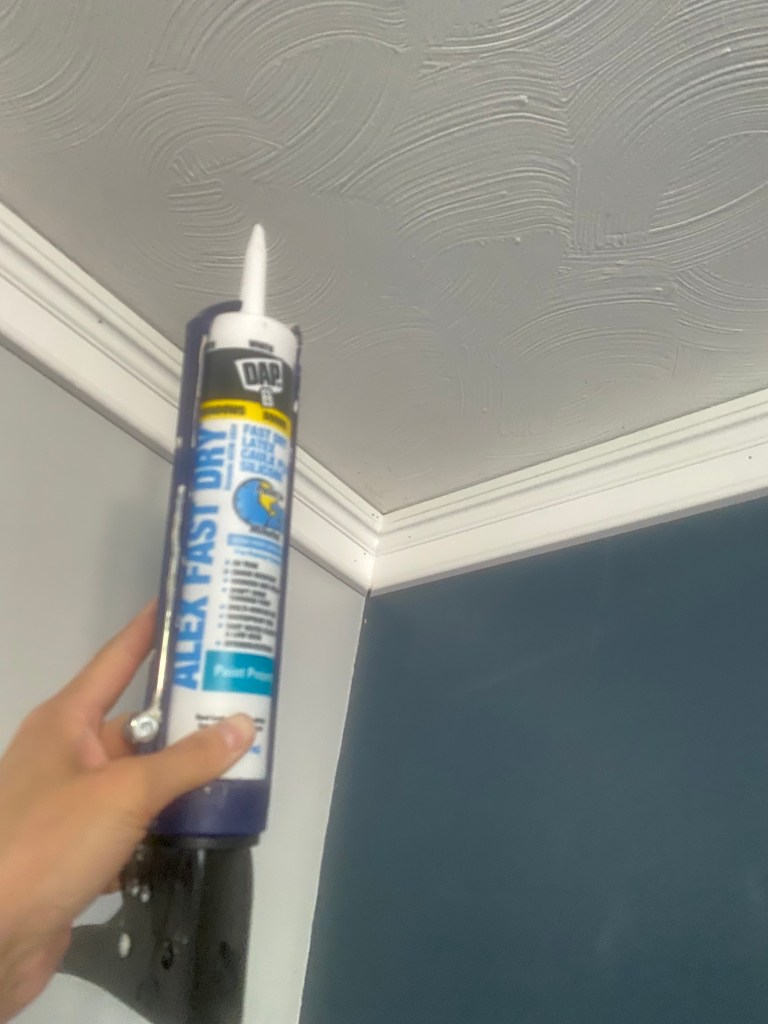
I continued taping around the trim work in the same direction (this is important when it comes to removing the tape – will make it easier to remove). Make sure to use your finger nail to firmly press the tape into the wall ensuring no bleed through. After you’re are done taping you are ready to caulk . I used DAP molding caulk and applied a thin bead to both the top and bottom of the molding. I then used a damp paper towel with a small amount of dawn dish soap to smooth out that caulk line. Like I said earlier, I also used caulk to fill in my nail holes and gaps between boards. I also used my damp paper towel to smooth these areas out.
After you have finished caulking, you are ready to paint! My friend’s mom had me use her trim paint to match the rest of her home. It was a very slightly off white in a semi gloss. I used my Wooster shortcut brush for an easy hold. I love this brush so much and would highly recommend.

After you are done painting you are ready to remove your tape! I have learned to start removing the tape where you first put the tape up. This way the tape will peel off in a seamless continuous way due to the layering when you put the tape up! Makes removing the tape a lot cleaner and way easier. And then DONE!
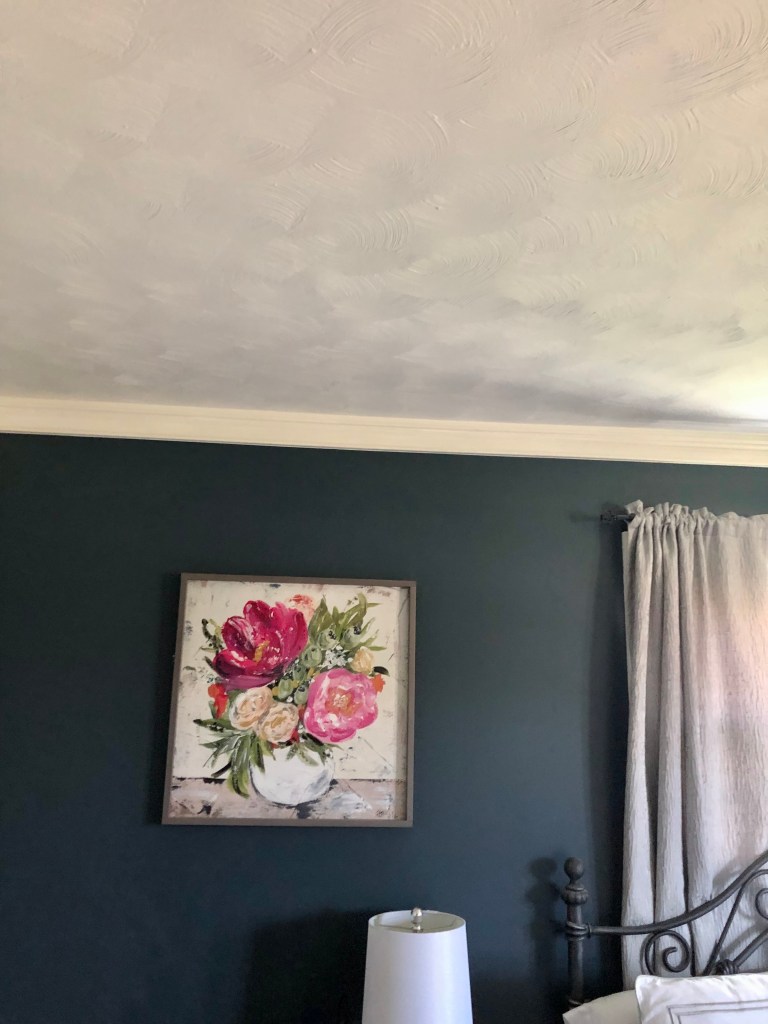


This entire project took me about 8 hours from start to finish. Molding can take a home to the next level. For more projects just like this for your home follow me on Instagram @abbbclark_homeee . Hope this was helpful, I share more videos for a better explanation on my Instagram page! Thanks for reading!
