Just a few months ago I was taking gross old 80’s wallpaper down in my kitchen. A couple months later I am putting it back up, but way cuter 😉 Who knew wallpaper would be back in style! There are so many pretty wallpapers out there and there are so many different types!! In this post I will explain how I put up wallpaper with adhesive and include all of the links as well! I made a few mistakes that I learned along the way so I’ll also be sharing what not to do 🙂
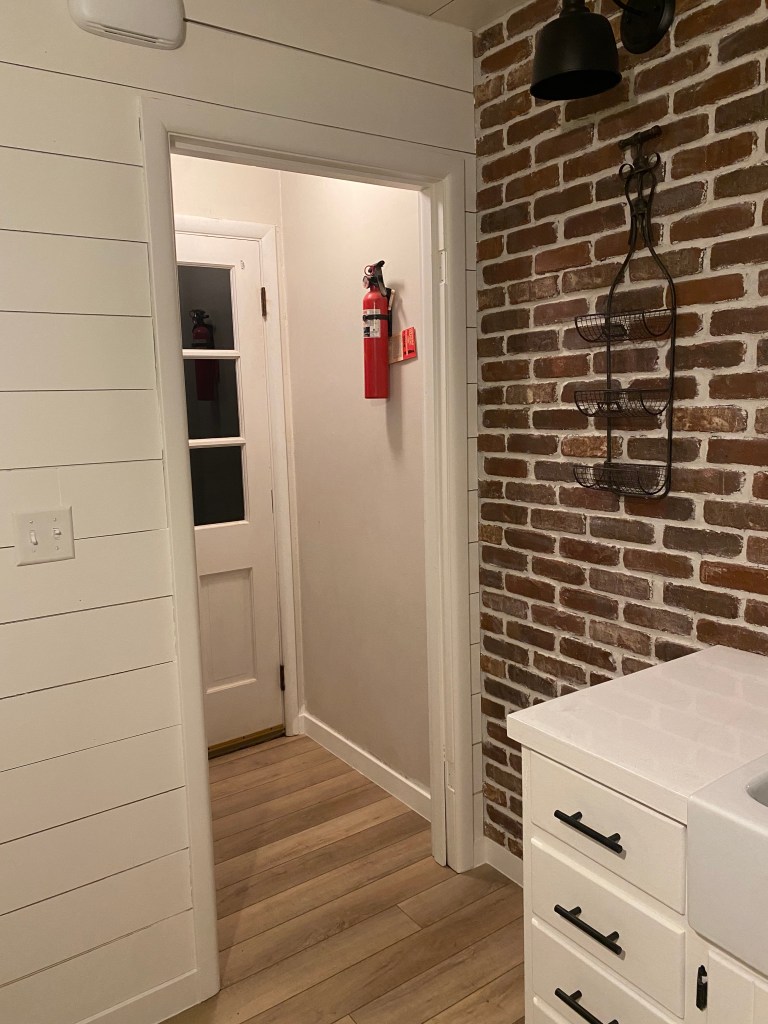
Here was my wall right off of my kitchen that was looking blah and needed a little something to make it pop.
I chose this wallpaper and LOVE it. One roll was the perfect amount for this wall. I did mess up and wasted some (will explain later) so I was glad I had extra! You will also need wallpaper adhesive. A painters tray and paint roller to apply the adhesive. A level, tape measure, pencil, sponge, utility knife, and scissors will also come in handy!
This wall is 42in, and the width of the wallpaper roll is 20.5in. I started with finding the center of the wall then measuring 10.25in on each side of the center point. I drew vertical lines down the entire length of the wall from those two points. These lines were the width of my wallpaper. My first row of wallpaper I centered and the lines helped to lay it perfectly straight.
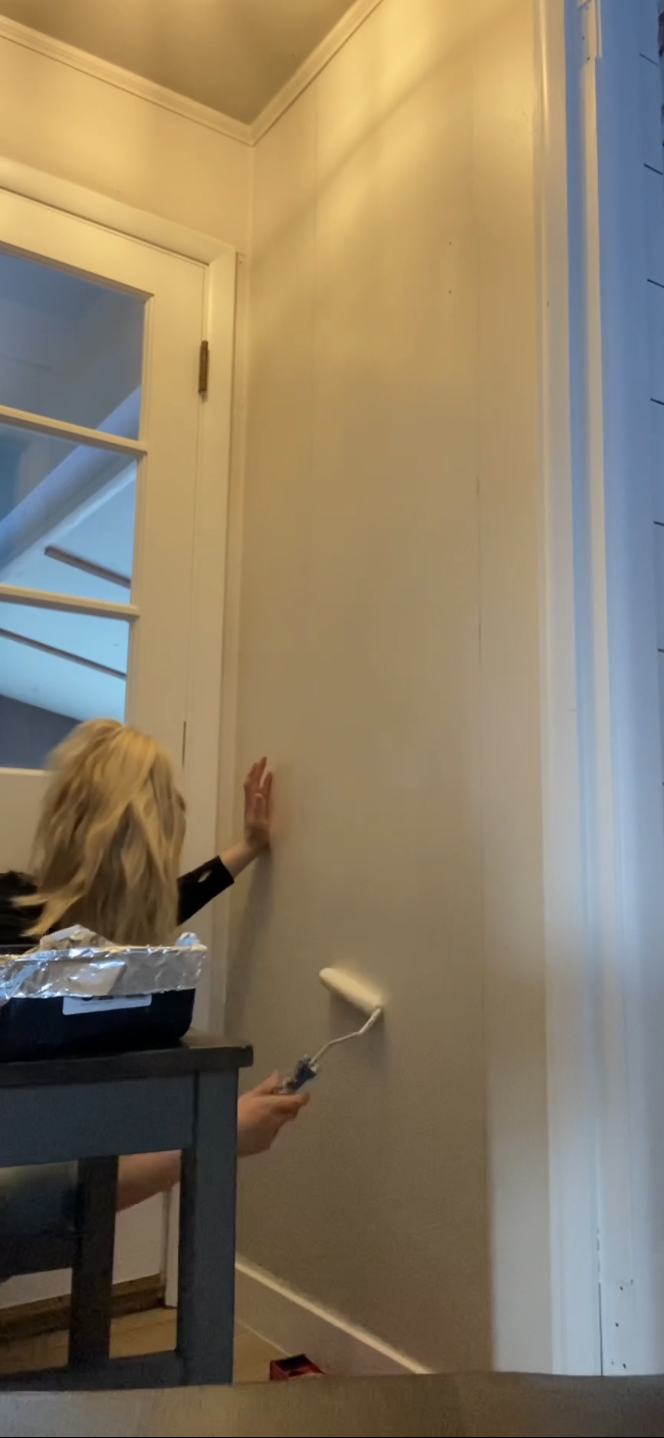
Then you’ll want to pour your wallpaper adhesive into your tray and using your roller lather the adhesive onto the wall. The instructions on the wallpaper adhesive stated to apply a light coat. I started by doing this and realized afterwards that a thicker coat was really needed in order for the wallpaper to adhere. So, don’t be afraid to get a good coat on the wall. I only applied the adhesive in the section I was laying at the time. So for example, I started with just rolling on the adhesive on the center strip of my wall.
Then I grabbed my roll of wallpaper and started applying the first piece. Thinking in my head “please work please work please work.”
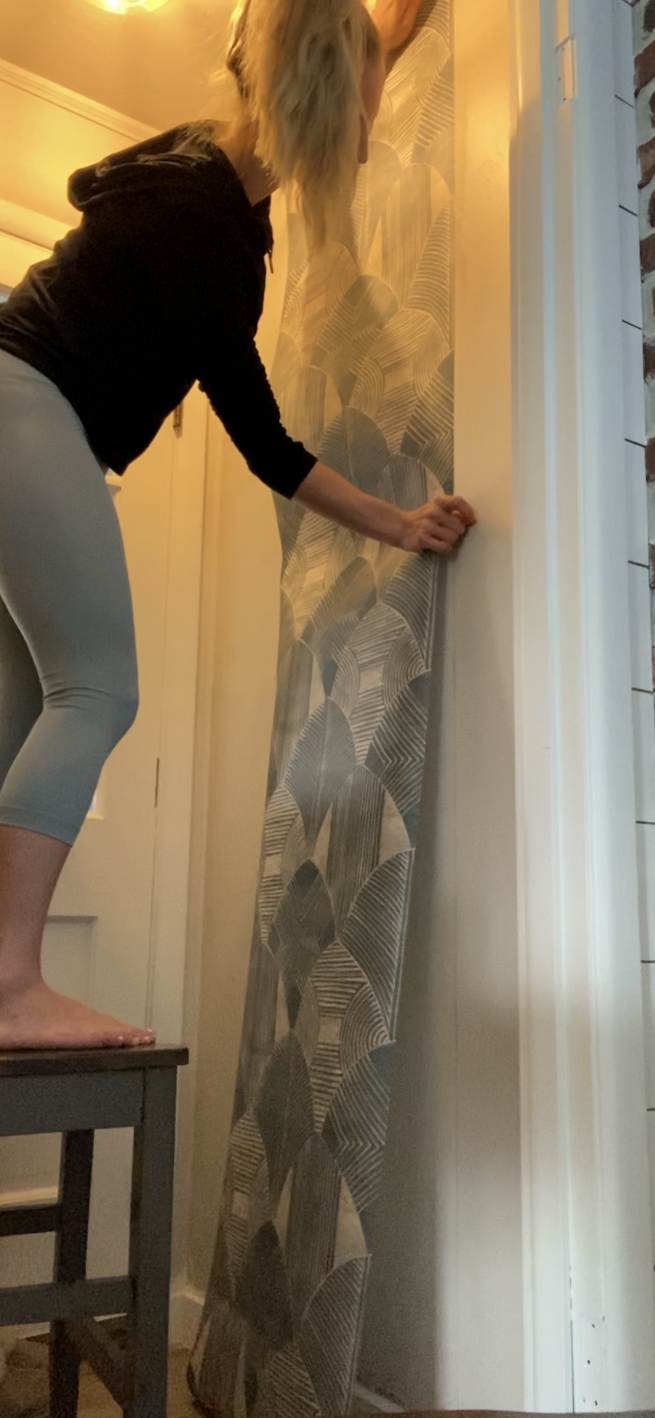
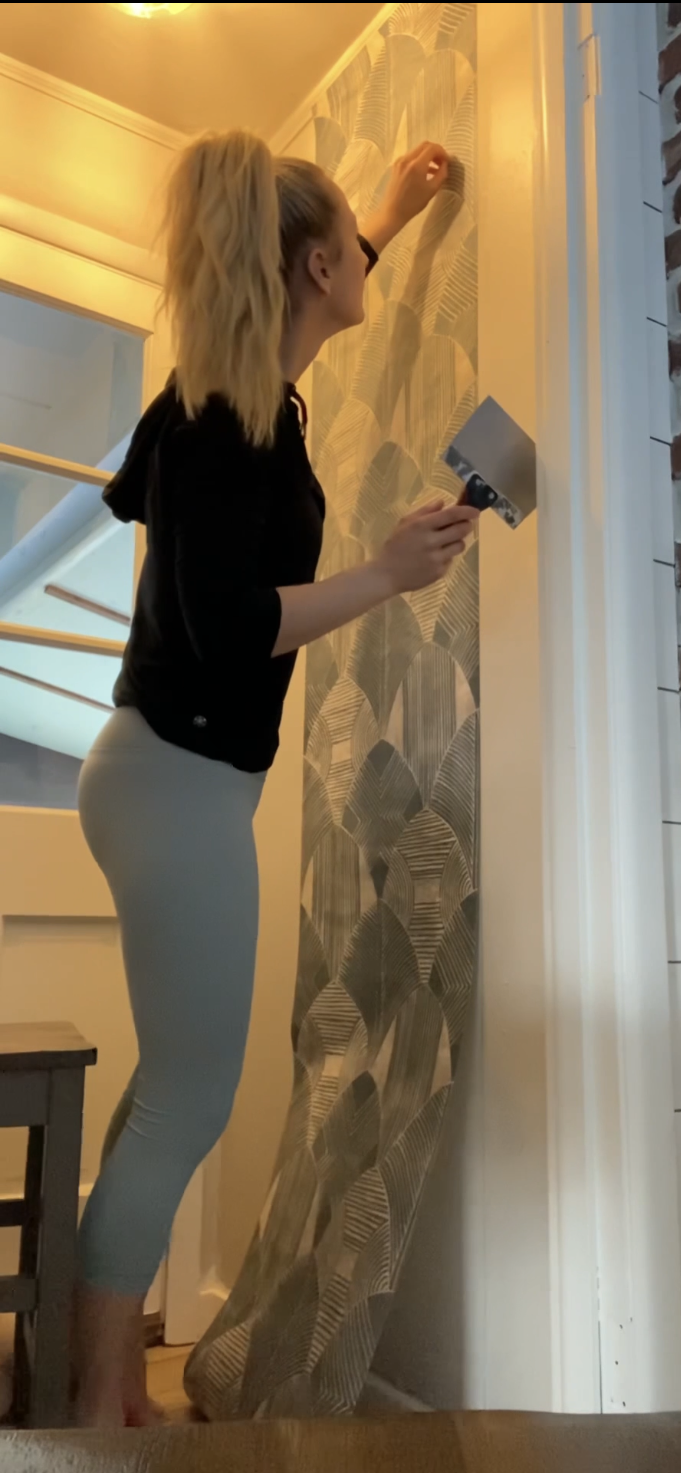
I lined the edges of the wallpaper up with my pre – marked lines to ensure the wallpaper was centered and straight. I left a little bit of extra at the top, then went down the wall flattening the paper with my hands until I got to the bottom. I then used my utility knife to cut a straight line along the baseboard and crown molding at the top to make nice sharp clean lines.
Then I grabbed just a random flat edge scraper (I think it was a drywall taping knife) in my home and went along the wallpaper scraping it to smooth it out. THIS is where I messed up. My walls are slightly textured. I went a little too aggressive with the flat edge and accidently ripped my wallpaper by nicking the flat edge on part of the texture on the wall;( Here is the moment I was like SHOOT, and had to re-start.
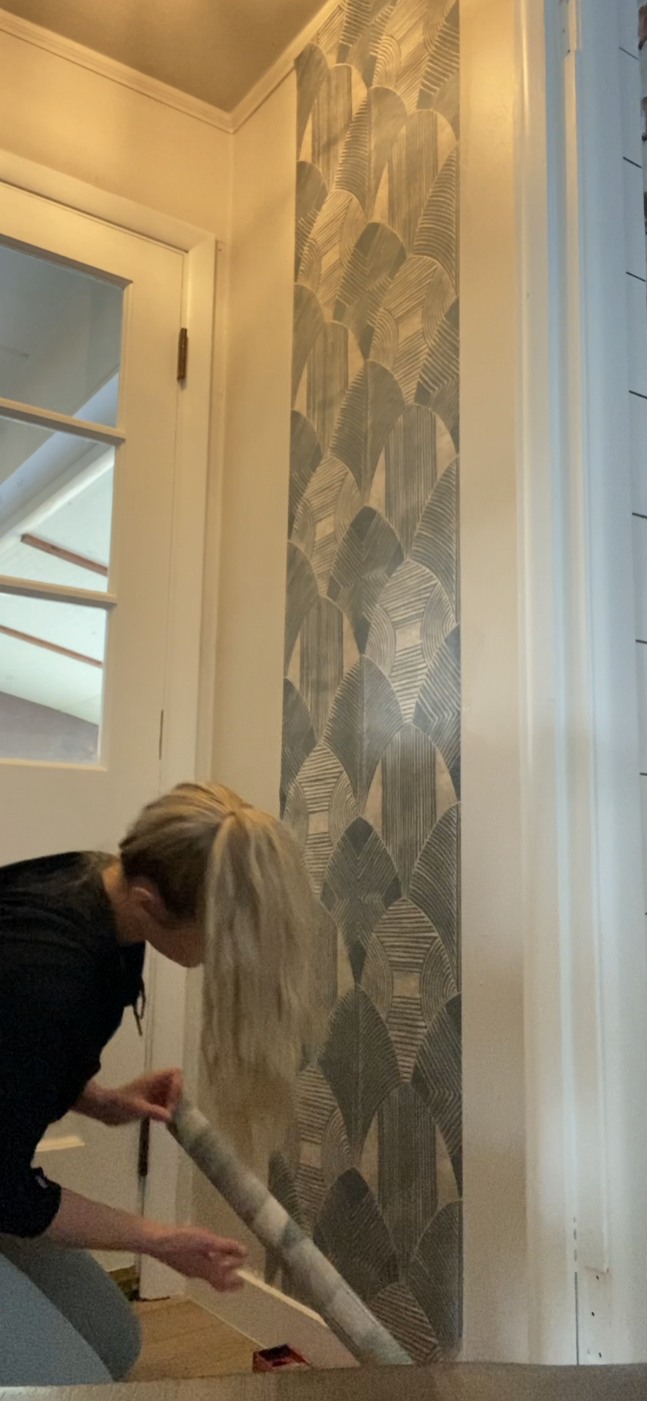
After re-doing the center piece I flattened the paper out more gently using my hands! I was so thankful I had bought extra!! One piece down two to go! I started with the left side and applied the adhesive. Then took my wallpaper roll leaving some extra at the top and lined up the pattern with the center strip. I went down the wall carefully lining up the patterns, and making sure there was no overlap. This took some time and patience but was easier than I had thought it was going to be!
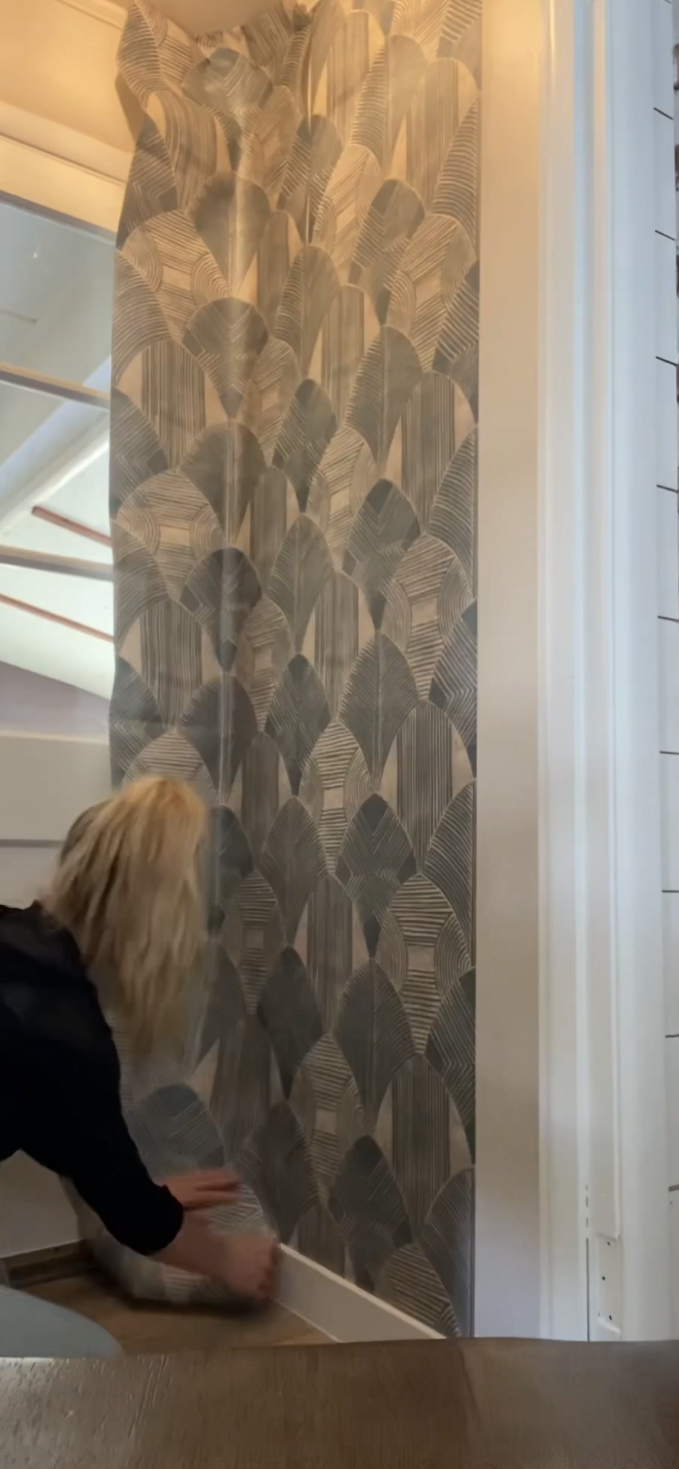
Once I got everything lined up and straightened out, I again used my utility knife to cut the paper at the baseboard, ceiling, and in the crevice where the wall ends. My blade on my utility knife was old so I would really recommend a sharp blade, this would have made the cutting easier for me! Then just repeat that process on the other side…
Side note… that RBF is real bad, ignore me hahaha.
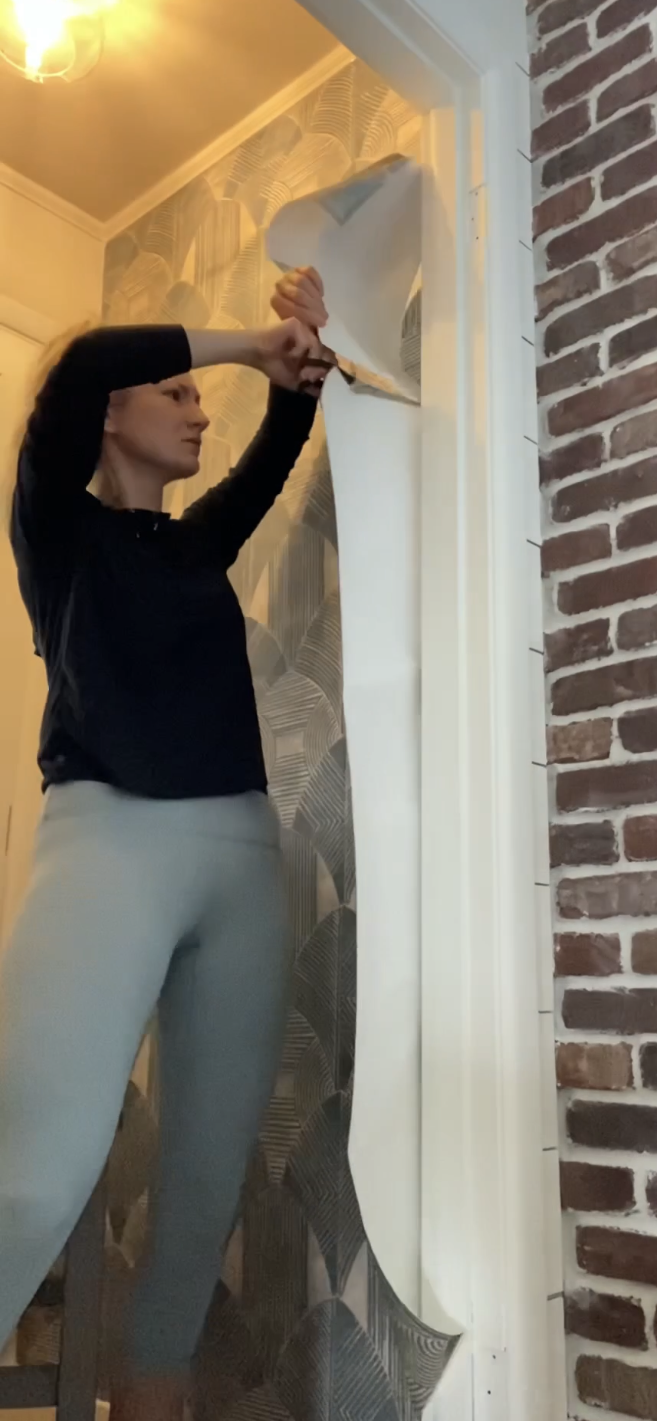
I found it was easier to cut any excess paper off so that you don’t have to monkey around with it! Once my last piece was trimmed I just went back around to some areas that didn’t look super stuck to the wall and gently lifted them and applied more adhesive to ensure they would stick.
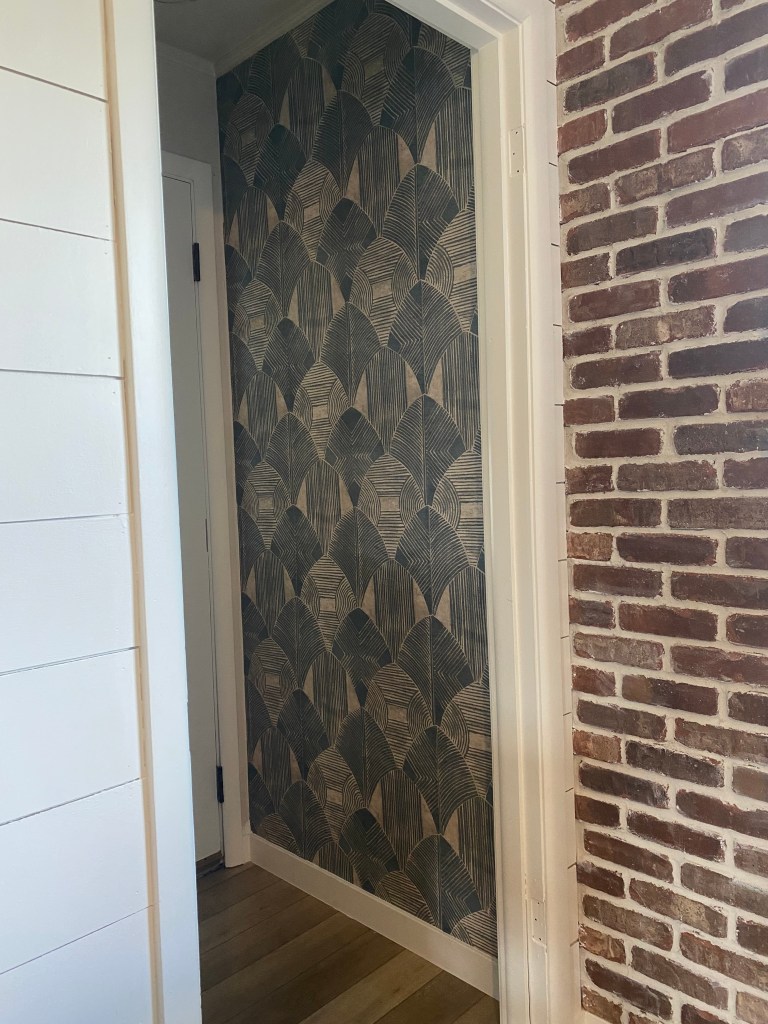
And done!! I love how it came out!! Except if you’ve gotten this far you can probably tell that I messed up aligning the pattern on the ride sided piece. I didn’t even notice it until a couple days after but once I saw it now I can’t miss it! Can you spot it?! Oh well, it adds character haha. Hopefully all of my mistakes I learned along the way help you perfect your project! It really was very simple to do and it adds the perfect pop to my back entry way!
Now when you enter my kitchen you can see the pretty wallpaper and it just makes me happy. It’s the little things ya know! Follow me on Instagram @abbbclark_homeee for more DIY, home decor inspiration and more! Make sure to tag me on Instagram if you try wallpaper out for yourself, I would love to see!!
