It had been a while since I got my hands dirty in a DIY and I was dying to make something! I thought a nice little hanging planter would be the perfect project to scratch the DIY itch! I had some scrap wood in my basement, some left over Starbucks bottles and hooks and got to work!
I started by cutting my scrap wood! I used a 2×4 for the base and 1x2s for the square/box hanging part.
Here is the cut list:
-2×4: 20in
-1×2: 2 – 18in
-1×2: 2 – 14.5in
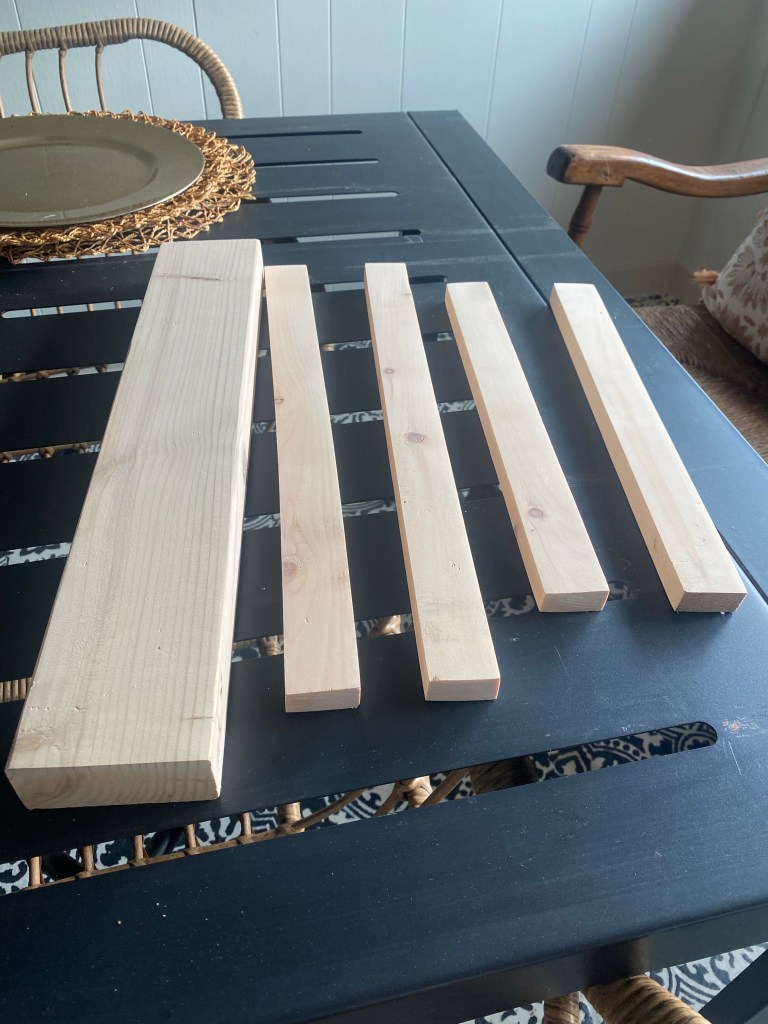
After my pieces where cut I sanded them all down with my orbital sander and 120 grit sand paper. Then I was ready to assemble! I first put together the box part with 0.5in nails using my nail gun. Then I nailed the square/box into the 2×4 base of the planter and it ended up looking like this.

Looking back I wish I would have used glue as well as the nails when assembling for extra support.
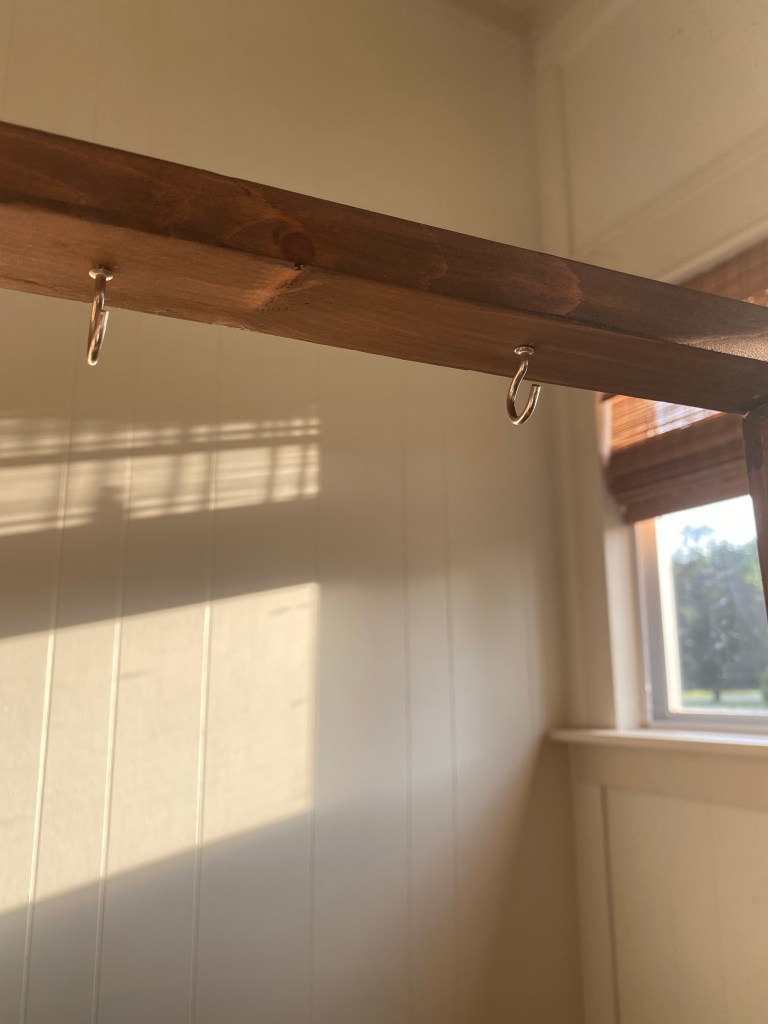
Then I stained the whole piece using Minimax water based special walnut stain. I used this simply because water based is easier to work with compared to oil based, and that’s just what I had!

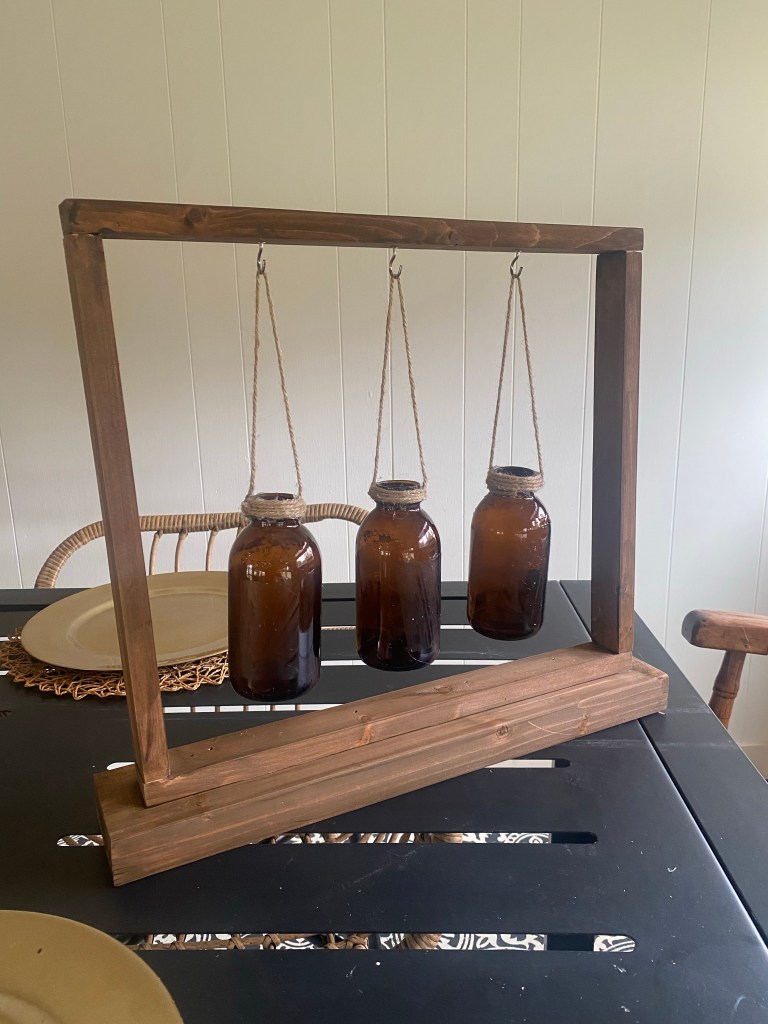
After that dried, I then screwed in the mini hooks where the planters will hang from. Like shown below. I used 3 hooks and just tried my best to place them evenly apart from each other. Measure if ya want to!
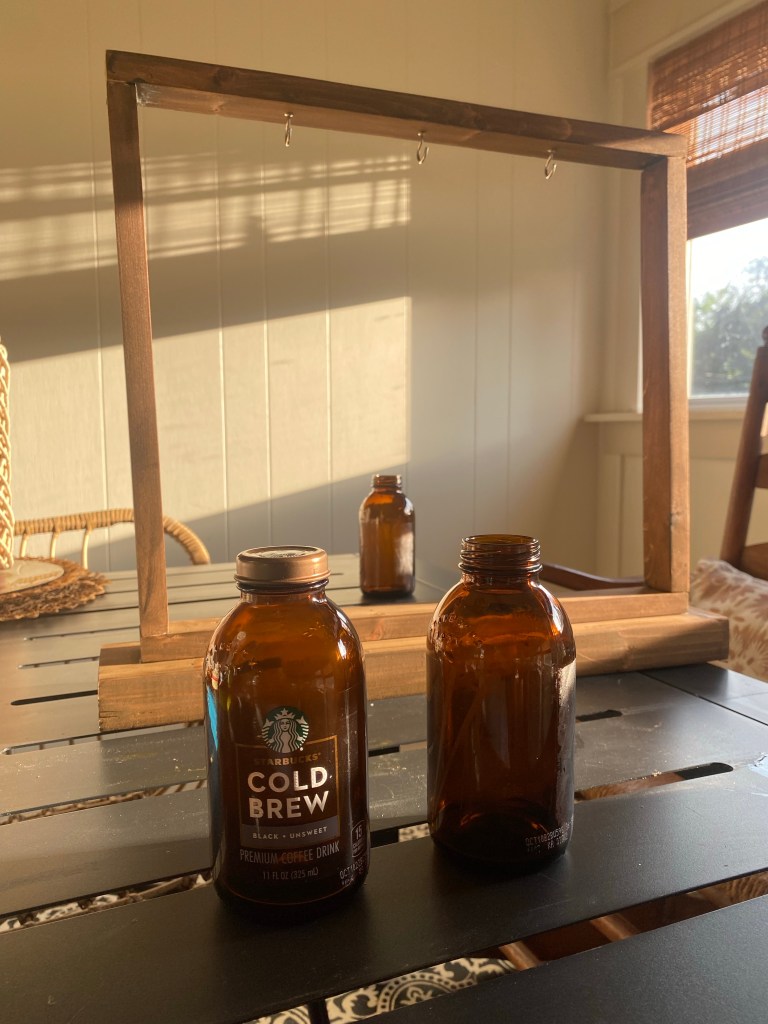
Next up, the planters! I used Starbucks bottles that I had kept for crafting. I removed the label and gave them a good washing! I then plugged in a hot glue gun and used jute cord to hang the planters on the hooks like shown below!
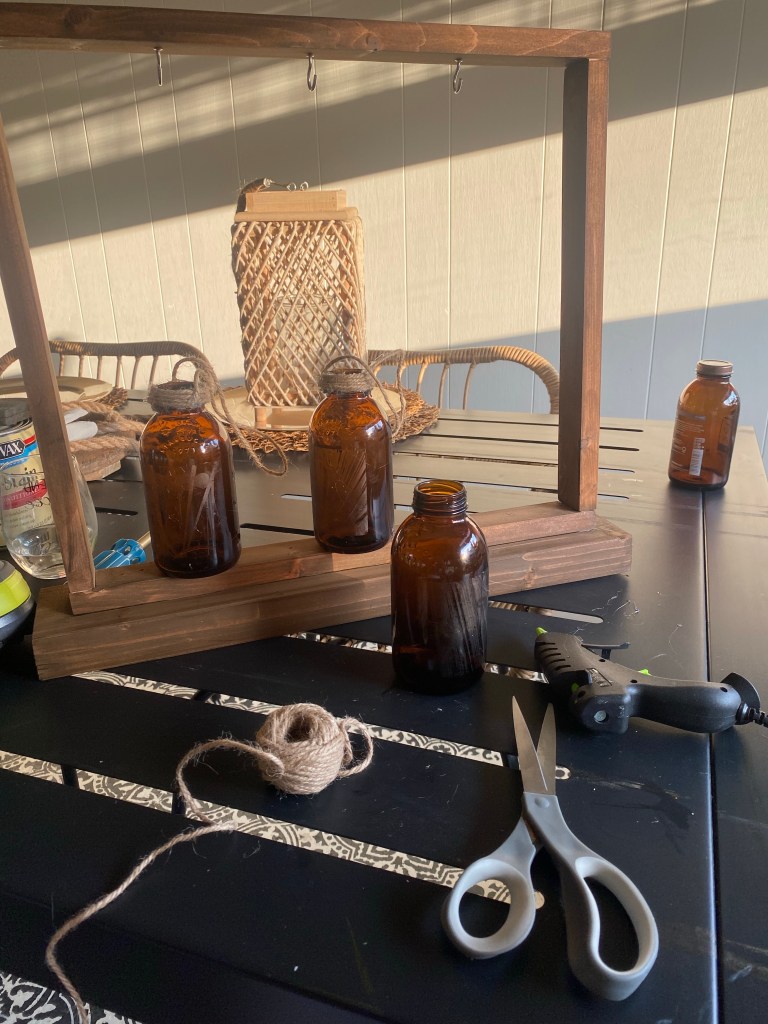
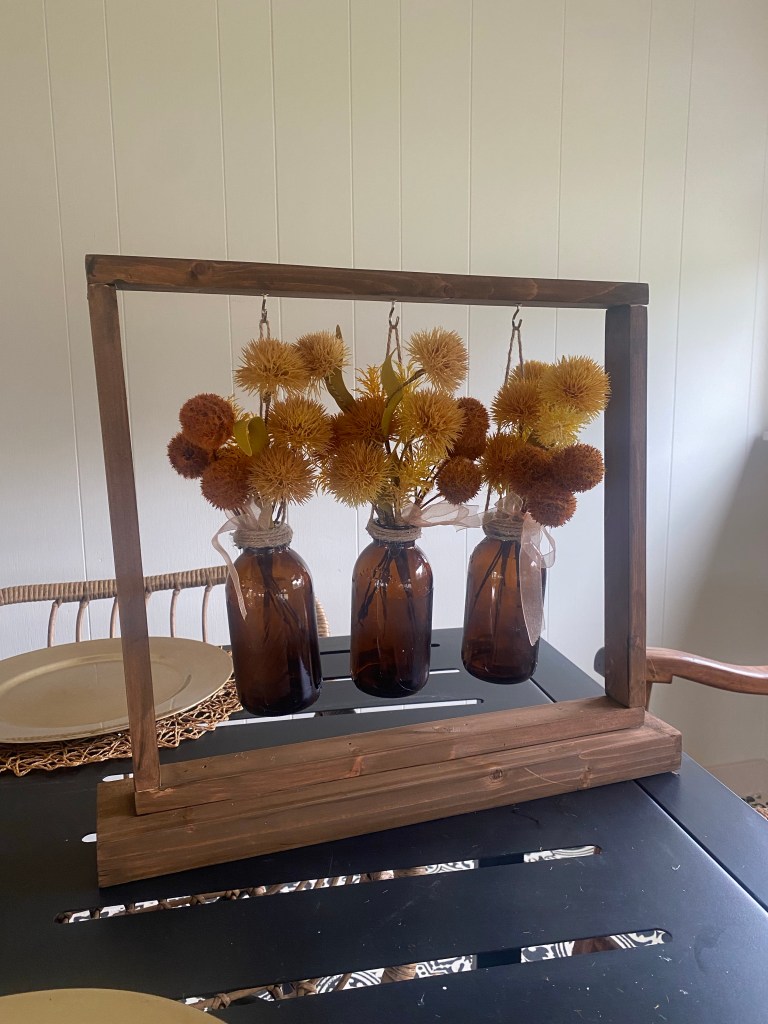
Then just simply add your favorite flowers and BOOM. Done.
Felt good to get back into a small DIY again! For more simple DIYs follow me on Instagram @abbbclark_homeee.
