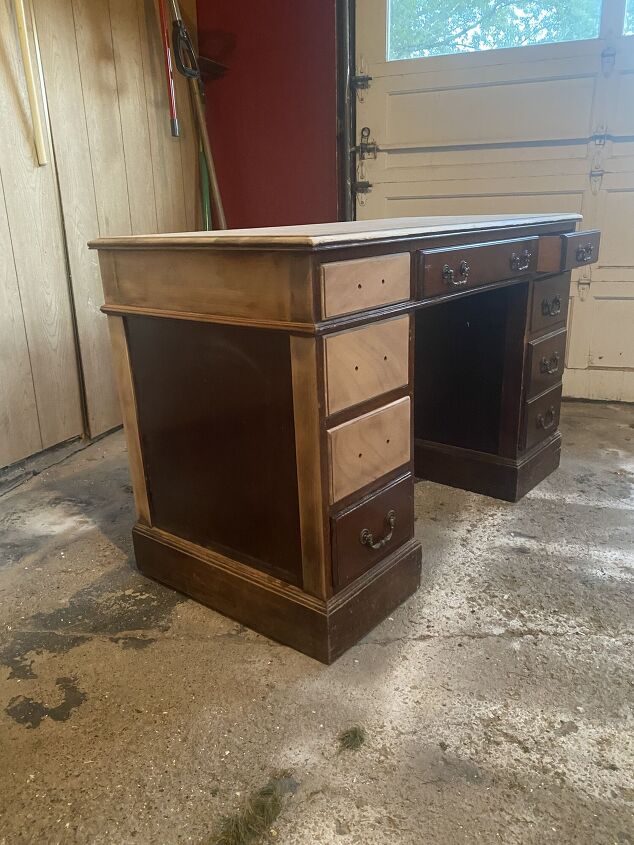
Do you have a piece of furniture that is old with a lot of sentimental value, maybe a family piece, that you want to keep but just needs a little TLC? This desk I worked on was exactly that! I was asked by a couple to renovate an old wooden desk that had been passed down to them from their grandfather. As soon as I saw the piece, I just couldn’t say no! Here is the before picture!
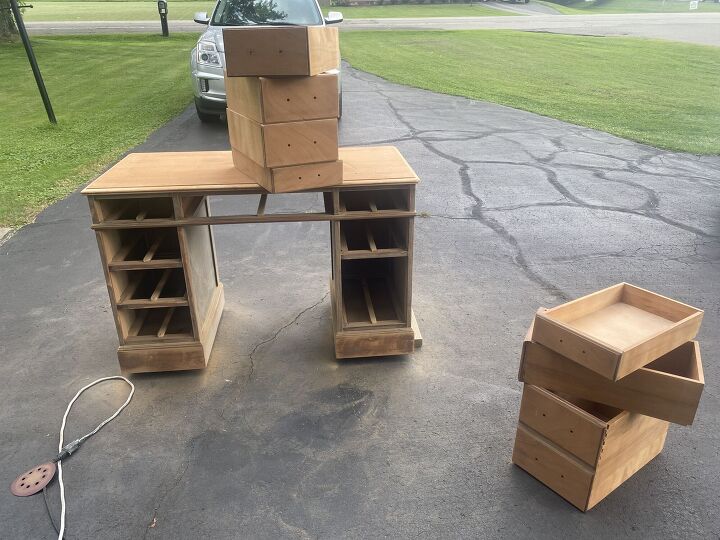
They had envisioned a painted desk in a rich tealish greenish blueish color (hahaa if you can envision that) with a stained top. We met up and they picked out a paint color, and discussed different stain ideas! I am usually super boring and stick with neutrals, so I was so excited to work with some color! As you can see they began sanding the desk, so I just picked up right where they left off. For the top of the desk, since it was going to be stained, I made sure to fully sand it down. I used 60 grit, then 120 grit sandpaper with my orbital sander on the entire top of the desk and hand sanded the edges. For the base of the desk, I planned on using Valspar furniture paint. They advertise as not needing to sand before painting with their product. But, to play it safe, I gave the entire desk a sand down since it had a bit of a glossy finish on it. So, for the base I used my orbital sander using 60 grit then 120 grit sandpaper as well. This step definitely took a while and required a lot of patience. Here’s how it turned out after sanding it down!
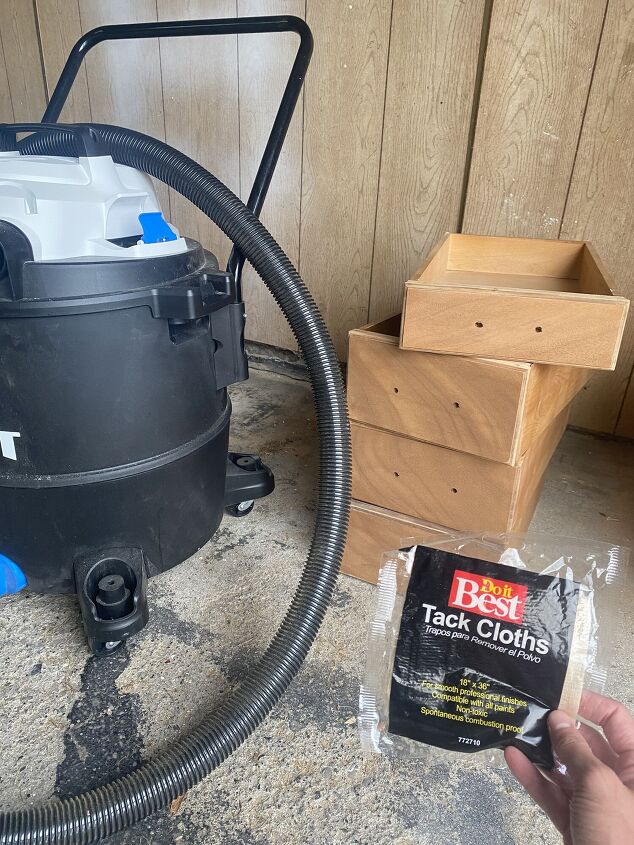
After I was done sanding I used my shop vac while the desk was still outside on my driveway to clean as much of the sanding dust off. I then used a tack cloth on the entire desk to thoroughly clean it even more in order to prep for paint and stain.
After the desk was free from sanding dust I was ready to get started and paint.

This paint color is perfect storm. For the first coat I used a brush to paint the entire base to ensure full coverage into all of the nooks and crannies. I gave that a day to dry then started a second coat. For the second coat, I used my brush to paint the edges then rolled the rest of the desk to ensure no streaks would be shown. I did end up going through with a third coat just in certain areas that I may have missed to ensure for plenty of coverage. After the painting was done, I was ready to stain. Here was my planned line up…
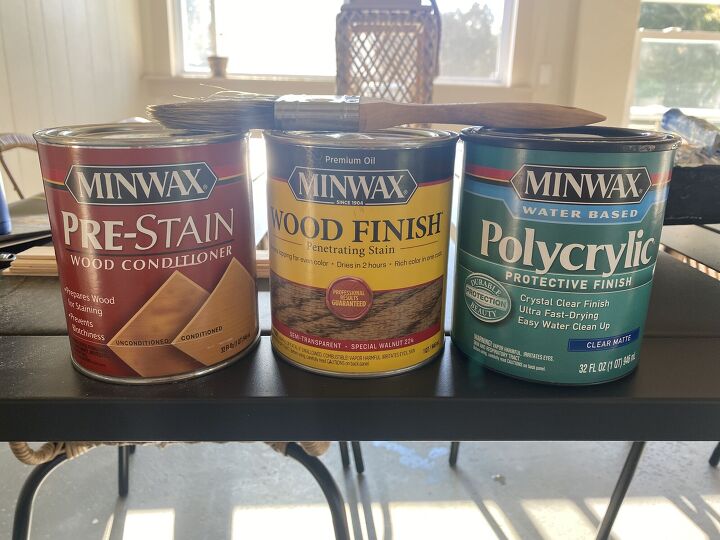
I thought staining would be the easy part but oh boy was I wrong. Let me explain why. I first used Miniwax pre-stain to condition the wood. Then applied Miniwax oil based stain in special walnut. I didn’t even get to the last step of sealing it with the polycrylic because it turned out way too red/orange looking. Staining can be frustrating because different stains take to different types of wood so differently. I had previously used special walnut on a table and it turned out an entirely different color than below. I ended up re-sanding the top down. Here is a shot of the desk in the process of that!
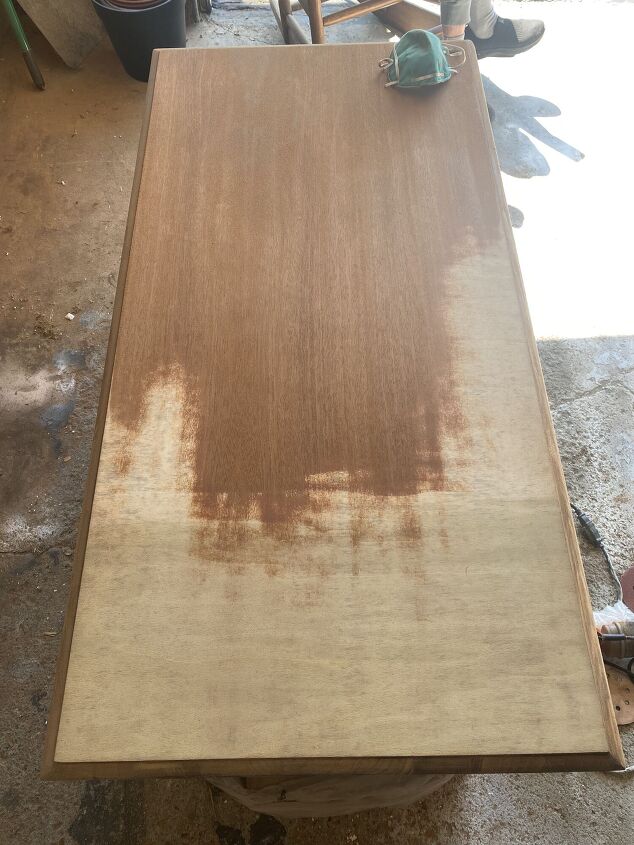
In the midst of sanding I noticed the grain of the wood underneath was going in the opposite direction. I freaked out for a hot second thinking that I had completely just ruined this desk. But, then I realized that the reasoning was because it is plywood. Plywood is a material manufactured from thin layers or “plies” of wood veneer that are glued together with adjacent layers having their wood grain rotated up to 90 degrees to one another. After figuring this out, it now made sense why the stain was taking to this piece completely differently than the other piece of furniture I had done. It’s because it’s a totally different type of wood. After sanding the piece down for a second time, it looked like this…
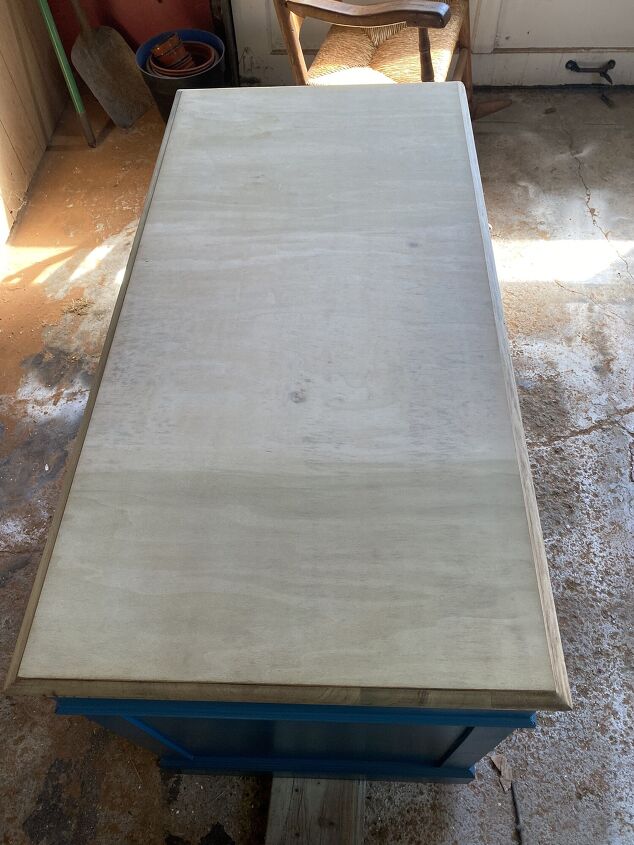
Here is where I freaked out for a second time. This piece of plywood is sectioned into three very different shades of wood, and they have a yellow/green tint to two of them. Can you tell in the picture above? I brainstormed for a while and came up with a plan. I first applied the pre-stain. Then I got out my liming wax, from amazon, and used a paper towel to rub it in to the entire top of the desk to hopefully knock out the green/yellow color. After the liming wax, I tried the special walnut again hoping this time with the liming wax and different layer of plywood that maybeeee I would like it. But I didn’t, here is how it looked after…
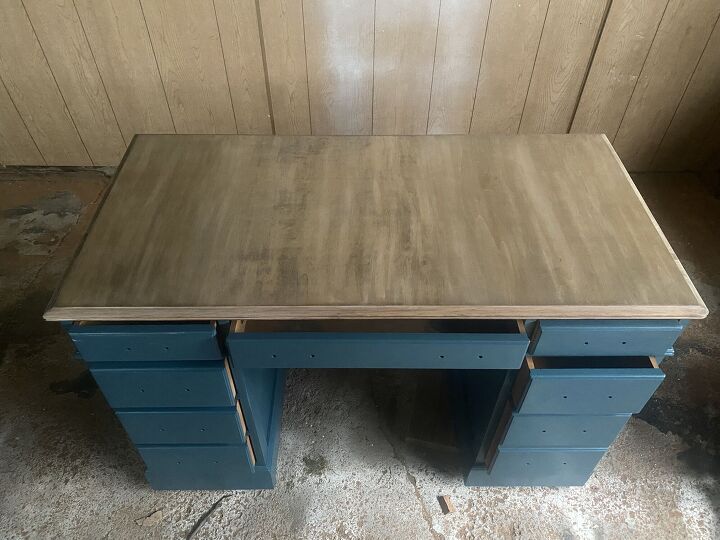
It was way too streaky and still not a consistent color. So, I brainstormed some more and decided to add a darker stain on top of this. I applied Miniwax oil based stain in mocha and quickly rubbed the stain off with a paper towel. Less is best when it comes to stain, you can always apply more. I was so happy with how this came out after adding the mocha. Here it is!
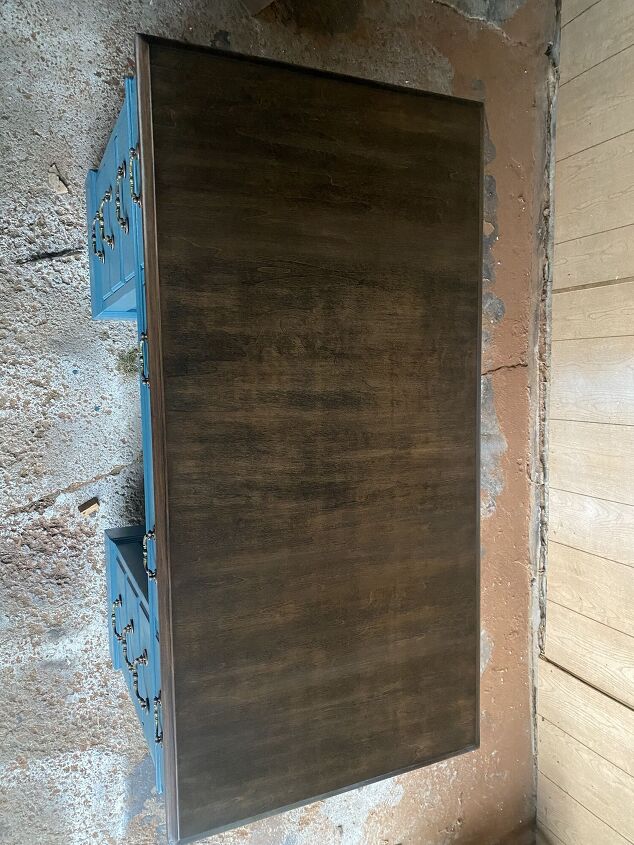
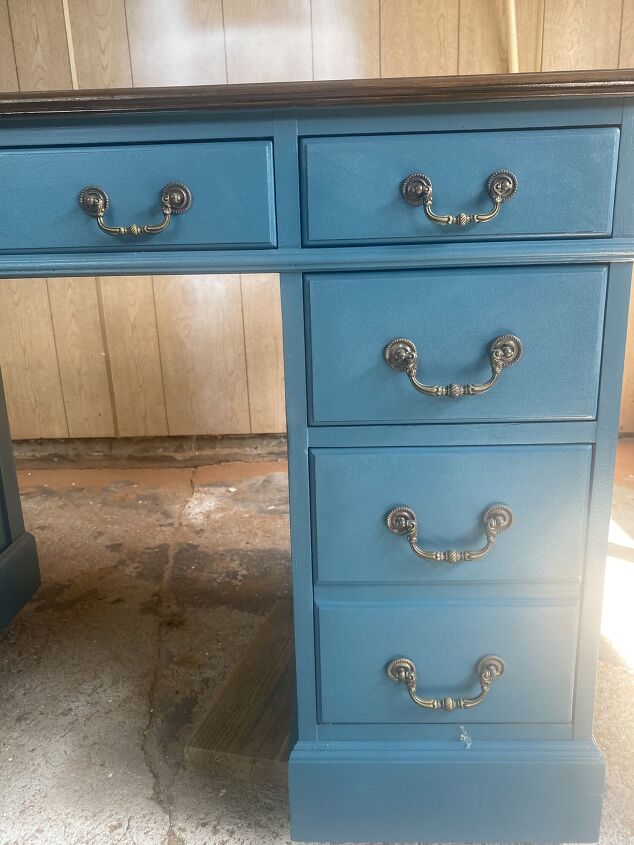
After the stain dried, I sealed the top of the desk with Miniwax polycrylic. In between coats of the polycrylic I lightly sanded and again used my tack cloth to remove sanding dust. I did 2-3 coats of the polycrylic. I honestly cant exactly even remember, I just did whatever the instructions of the can recommend haha! After the desk was sealed it was time for the hardware! The couple wanted to keep the original hardware, which I loooveee! Here is how it turned out! I really love how this one turned.
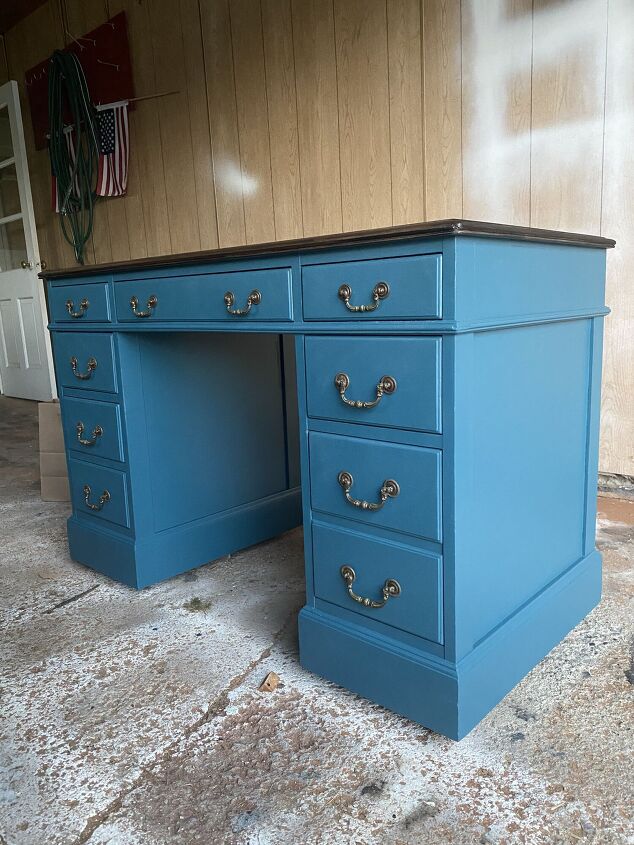
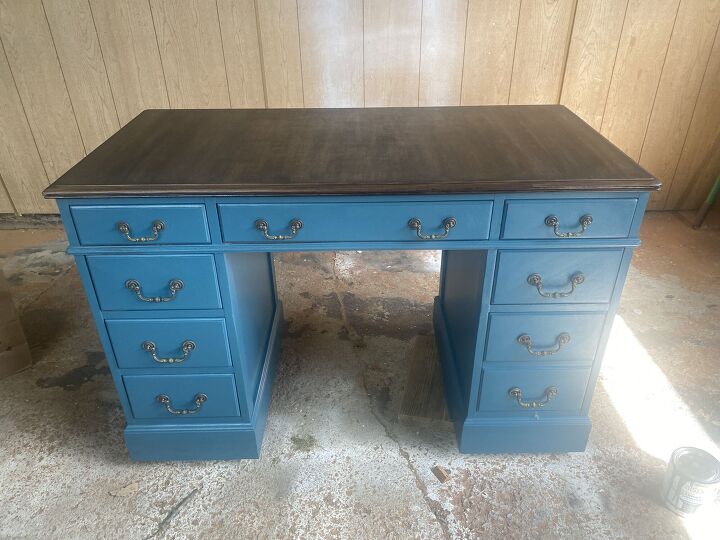
Transforming an old family piece into something beautiful is so rewarding! For more DIYs follow me on Instagram @abbbclark_homeee.
