As week three of the One Room Challenge comes to an end, I look back at pictures from just one week ago, and am so happy with how far this space has come. If you missed my previous weekly posts you can read them here: Week 1, Week 2. You can also check out my ORC highlight on Instagram for daily updates and videos. Make sure to head to the One Room Challenge Blog here to check out what tons of other DIYers have done to transform their spaces. There are some amazing rooms being renovated!
This week I started by finishing the DIY planked ceiling.
Next up, the main goal for the week… ceiling beams. I had the perfect amount of leftover 1/2 in plywood, from my kitchen reno, to make my own version of DIY faux ceiling beams. I started by finding the joists in my ceiling and brainstorming a plan.
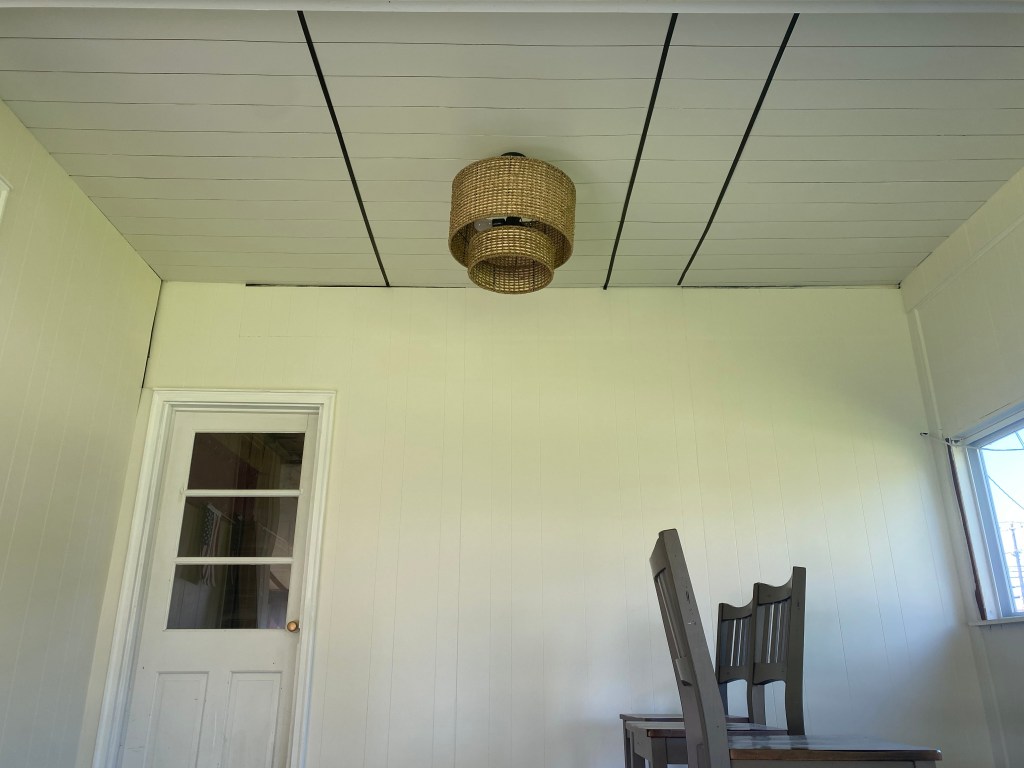
Using my stud finder I marked my joists with electrical tape to help visualize what I was working with. During this step, unfortunately I realized that my light is not centered in the room and the joists are not symmetrical in the room. I wanted the beams evenly spaced from the light, making the light the main focus in the room. Having off centered beams just wouldn’t look good ya know? After doing some measuring, I figured out a plan. I planned to hang/secure the beams off the side of each joist in order to make them equal on each side of the light. I then got right to it, and started making the beams!
What you’ll need…
- 3 – 6in strips of 1/2in plywood per beam ( I used 6 because I made 2 beams!)
- Nail gun with 2in and 0.5 in brad nails
- Liquid Nails
- Saw (I used my Miter Saw but any will do)
- Wood Conditioner and Stain ( I used Early American)
- Drill
- 3in screws
- Tape measurer
- Pencil
- Chalk Line
Start by cutting your plywood strips to the length of your ceiling. Then attach the three strips of plywood in a U shape to create the beam. Secure the plywood by applying a small amount of liquid nails then using 0.5in brad nails and your nail gun to secure together. They will be hollow and light because we are using plywood, making them easy to install.

Then choose you stain color. I started by testing out stains on a scrap piece of plywood. I ultimately decided to use oil based Early American. I used wood conditioner prior to applying my stain. Here is how they turned out!

Now you’re ready to put your beams up. I cut about 5 scrap pieces (per beam) of 2×4 to the width of the inside of my beam. I pre drilled 2 holes in them then secured them into the ceiling about every 20in with 3in screws drilled into the joists of the ceiling. After these are secured in a straight line, guided by your chalk line you are ready to place your beams up. Fit your beams over the scrap 2x4s and push flush to the ceiling. Then simply use your nail gun with 2in brad nails to secure the beam to each 2×4! And you’re done!
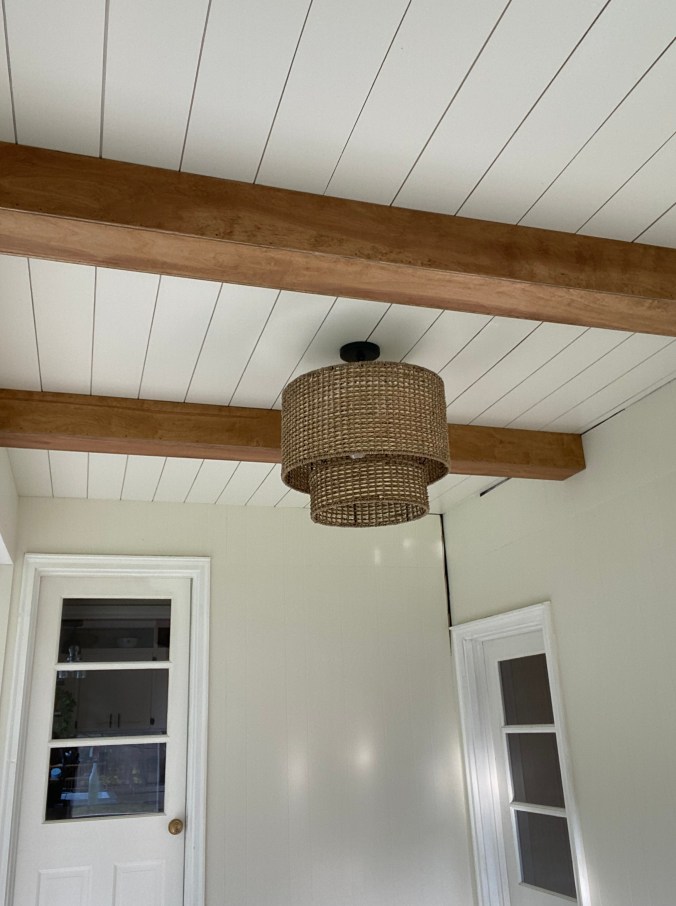
Here is me super excited (and sweaty) with my cute new beams!

I love these two beams so much that I am considering adding 2 more!! What do you think, should I do it? Next week I will need to add trim work and then I will be tackling my window! Hope you stay tuned, thanks for following along! XOXO

Pingback: One Room Challenge – Sunroom Renovation – Final Reveal | Abbbclarkhomeee
Pingback: Sunroom Renovation – One Room Challenge – Week 4 | Abbbclarkhomeee
Pingback: Stained and Planked Ceiling DIY – How-To! | Abbbclarkhomeee